
What is a Whirligig Toy?
The word whirligig derives from two Middle English words: whirlen (to whirl) and gigg (top), or literally “to whirl a top”. So the gist of the whirligig toy then is basically to use a scientific force (in our case we create it) to get the thing whirling and then we seek to keep it going.
That’s all pretty fancy to say a disc on a string. This simple pleasure of both making and playing with whirligigs provided hours of entertainment for the children of early America and still does today.
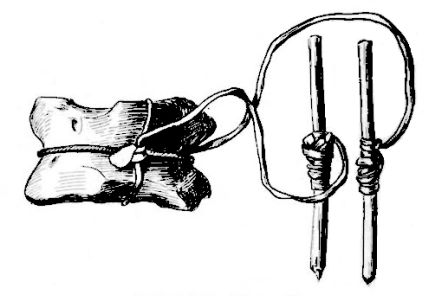
Native American whirligig toy
Whirligigs are documented as early as the 1400’s in Europe but there is also evidence of whirligigs being here in America some say as early as 500 BC! (For you scientific types, it refers to the Fourche Maline Culture) There is evidence that the whirligig was used in the ceremony to call upon the wind but it’s also documented that they were used as toys.
Native children made them from either a bone or a chunk of hardened clay on a strip of hide or sinue. The materials change through time and culture but the premise was, and is, the same.
Weave a string through it and see how long you can whirl it.
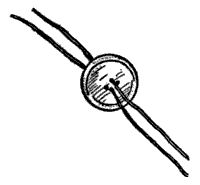
Explore Native America
Cree Whirligig circa 1912 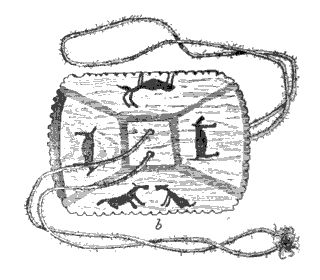
Inuit Whirligig circa 1892
What you need to make a whirligig
This toy was really made from recycled or upcycled materials. What that amounts to is, there isn’t one right way to make this. Use what you have on hand. If you are spending money to make this, then you’ve missed the point of this toy entirely.
Disc: Cardboard is the easiest. We’ve used plastic lids, hardened play dough and even a piece of metal. Bark, chunk of wood.
Strings: Strings or twines. Threads are too thin. Yarn can work too and even a thin ribbon.
Scissors: to cut out the circle and to cut the string
Pencil or pen: to trace and also to use to poke through cardboard
Optional: markers, paint, sparkles
Patience: Not so much for making the whirligig, but for sure the first time playing with it. 🙂
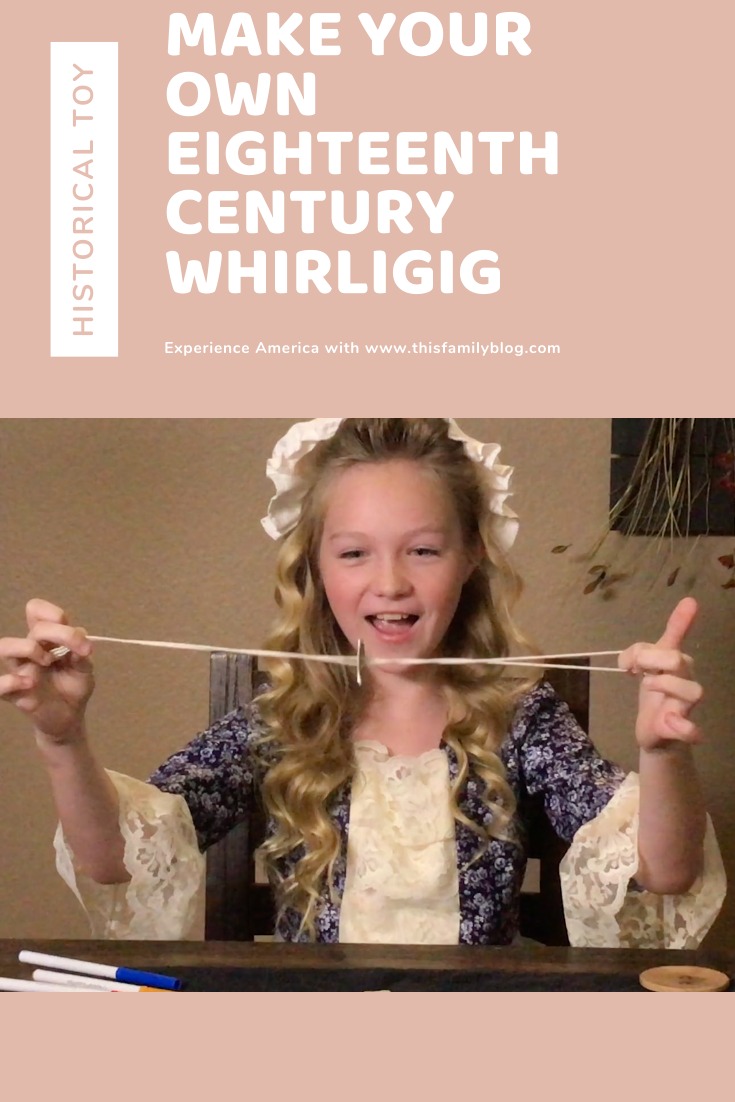
Video instruction: How to make a whirligig toy
Sage will walk you through what you need for your whirligig and how to make it. She also offers some ways to make it a bit more modern.
1700’s Craft Video Tutorials
Written instructions: How to make a whirligig toy
This is a very simple tutorial.
Step One: Decide what your whirligig disk will be and poke two holes in it at the center so it resembles a giant button.
Note: If it’s cardboard, you will need to cut it into a circle. We recommend using a cup or something round to trace. Yo can use a sharpened pencil or pen to poke the holes in the middle.
Step Two: Take your string or twine and cut about three feet. This does not need to be exact.
Step Three: Run the string through the two holes to make a big loop and tie it off
Honestly, that’s it! Yo have a whirligig in it’s most simple form.
Option: Color or paint the disc so it changes as you spin it. For example, paint one side half yellow and half red. Watch how it appears orange when you get it going.
How to play with your whirligig toy
Playing with a whirligig is pretty simple. Take a hold of both ends of the looped string and spin your disc so as to twist up the string as much as you can.
Then gently pull on the ends and then loosen and then pull again. As you move your hands in and out, find your rhythm and there you have it! The whirligig will wind and unwind and back again.
Each whirligig has its own ‘personality’ so there will be a learning curve for each one depending on the weight of the disc, the weight of the string or twine, how much you twist, etc. Don’t get frustrated! Figuring it out is half the fun!
Timeline of the Whirligig
1400’s: the first English-Latin dictionary contains the definition “Whyrlegyge”, chyldys game
Pre-European Contact: Native American children had their version where the disc was made of clay or bone.
Colonial America: Early colonist children made their own. Still a popular toy among Native children.
Depression Era: The whirligig made a comeback as kids made their own fun with whatever they could find. This is when they earn a nickname ‘buzzers’ and are often made of a button or even an old coin.
2021: During times COVID I’m pushing for a complete whirligig revival! Who’s with me?!?!
Lessons of a whirligig toy
Unrestricted Creativity! These toys were made across cultures and time and kids everywhere figured out a way to amuse themselves without a computer.
Recycle: Everything can be used for something…even an old bone or button
Patience: Not for the making, but sometimes the playing …
Hand Eye Coordination: It does take some!
Great minds think alike: Many cultures have their own versions but the premise is the same. I’ve read even early China has a form of whirligig. Maybe in the interest of world peace we should all play with whirligigs together.
History really can be fun! It might not always be pretty, but sometimes it can make you smile.
Pin this whirligig tutorial for later
Not ready to make your toy just yet? Pin it for later. All the fun (and all the directions) will be here waiting for you when you are ready to play!
Subscribe to This Family Blog
A whirligig toy was hours of fun for youth in the 1700’s. Know what are hours of fun for you? This Family Blog! Here we share fun ways to experience American History with everything from travel itineraries to historical craft tutorials like this one! If you are sitting there thinking. HECK YEAH! THIS IS SOME FUN RIGHT HERE!! Than we encourage you to sign up for our emails. We never give out your private information because that is just rude. We will sen you fun articles and stories like this one!
Other tutorials to MAKE your own history:
Whirligig toy, Quill pen, Invisible Ink, pomander balls and more! We have a whole bunch of ways to explore the 1700’s with hands on discovery. Most of the ingredients are simple and can be found around the house. Always with a little history lesson and always led by Sage. Let’s play!